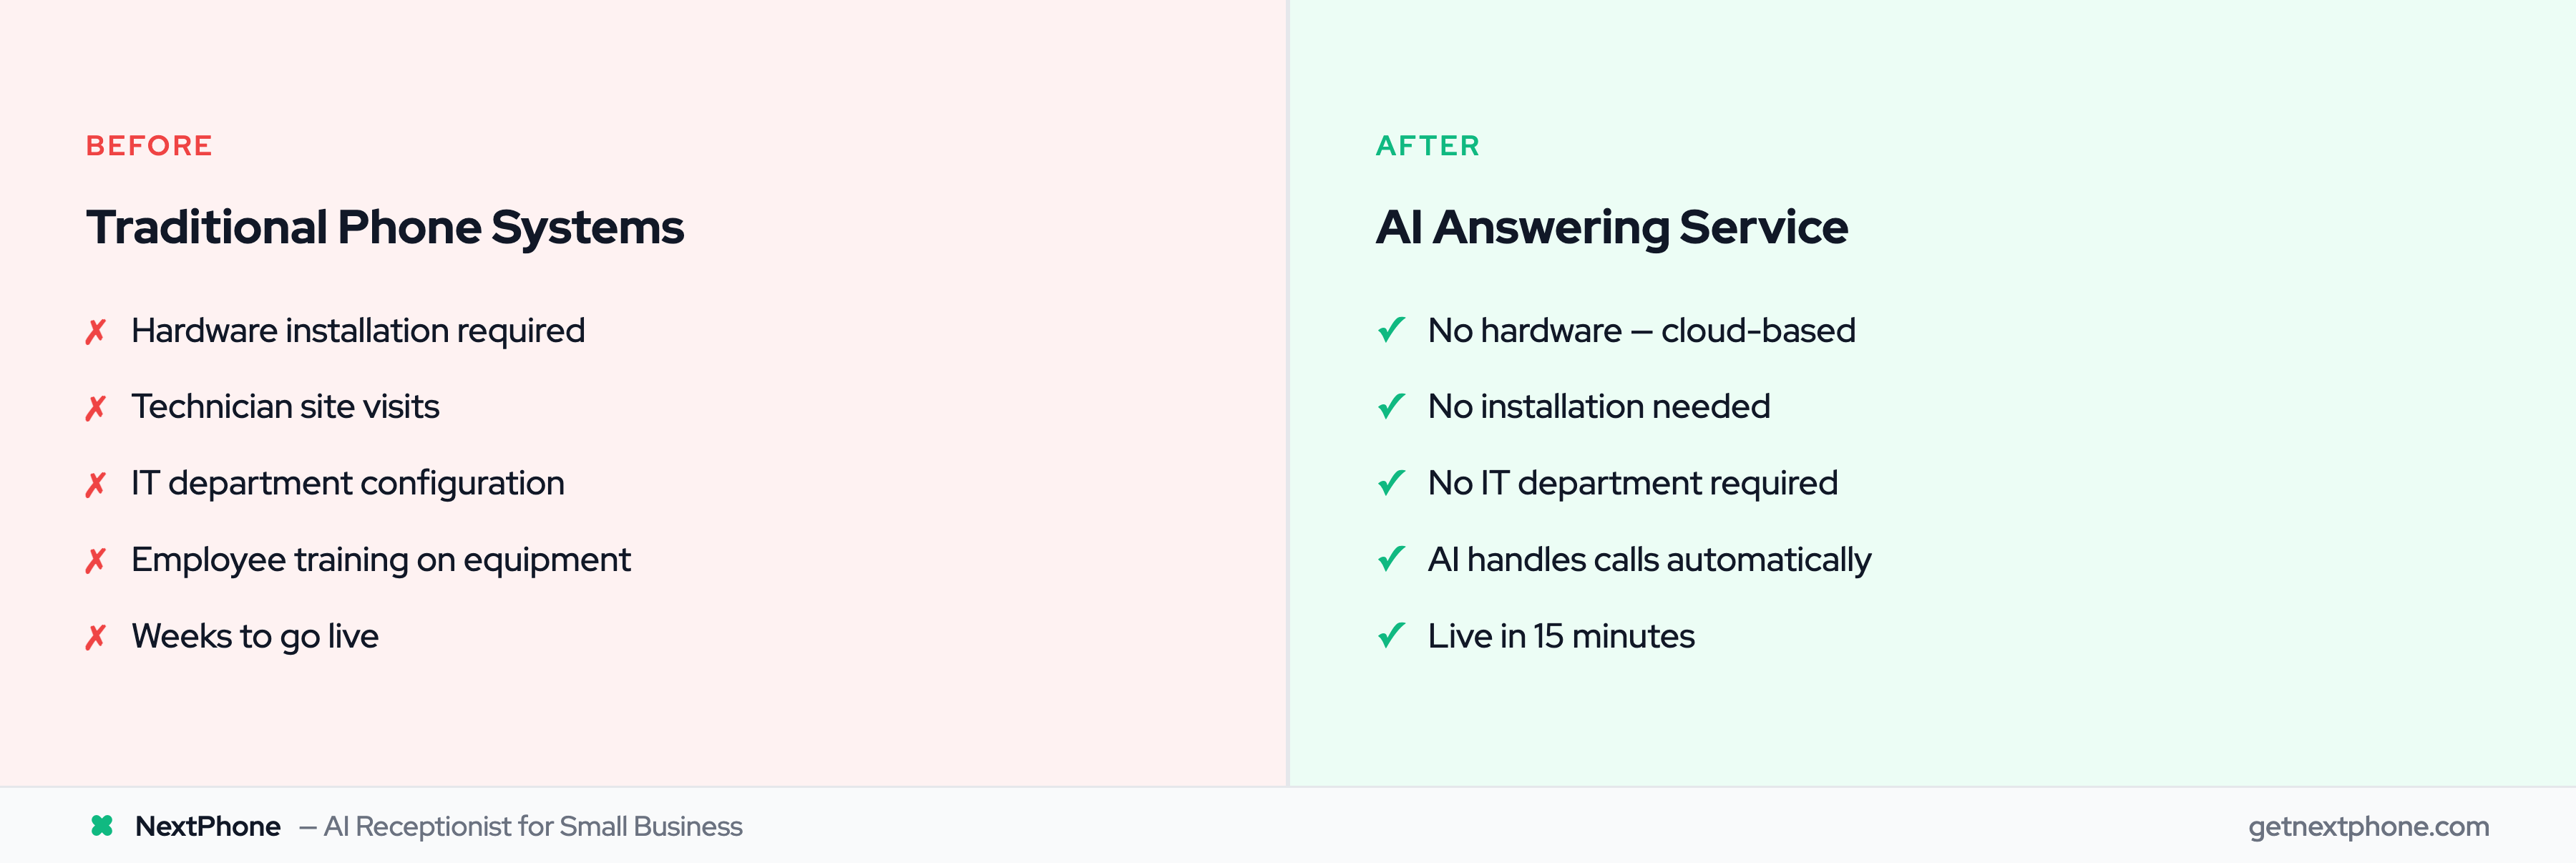
"I don't have time to set up a new phone system."
That's the most common objection from business owners considering an AI answering service. And it made sense ten years ago. SMBs typically average a 90-day pilot-to-implementation timeline with enterprise software. Traditional phone systems required weeks of installation, technician visits, hardware configuration, and employee training.
AI answering services work differently. Modern voice AI receptionist systems can be set up in less than 15 minutes. And the cost of phone answering has dropped significantly compared to traditional alternatives. There's no hardware. No installation. No IT department required.
This guide walks through the complete answering service setup process, step by step, with realistic time estimates for each phase. Total time: 5 minutes from account creation to your first test call.
What You'll Need Before You Start
Before you begin, gather these basics:
Required:
- Your business phone number (the one you want answered)
- Business name
- General idea of your business hours
Not required:
- Technical skills
- Special equipment
- IT support
- Previous phone system experience
That's it. If you can fill out a web form, you can set up an AI answering service. The platform handles everything else.
Set aside 5 uninterrupted minutes. Close other tabs. Silence notifications. This works best when you can focus.
The 5-Minute Setup: Step by Step
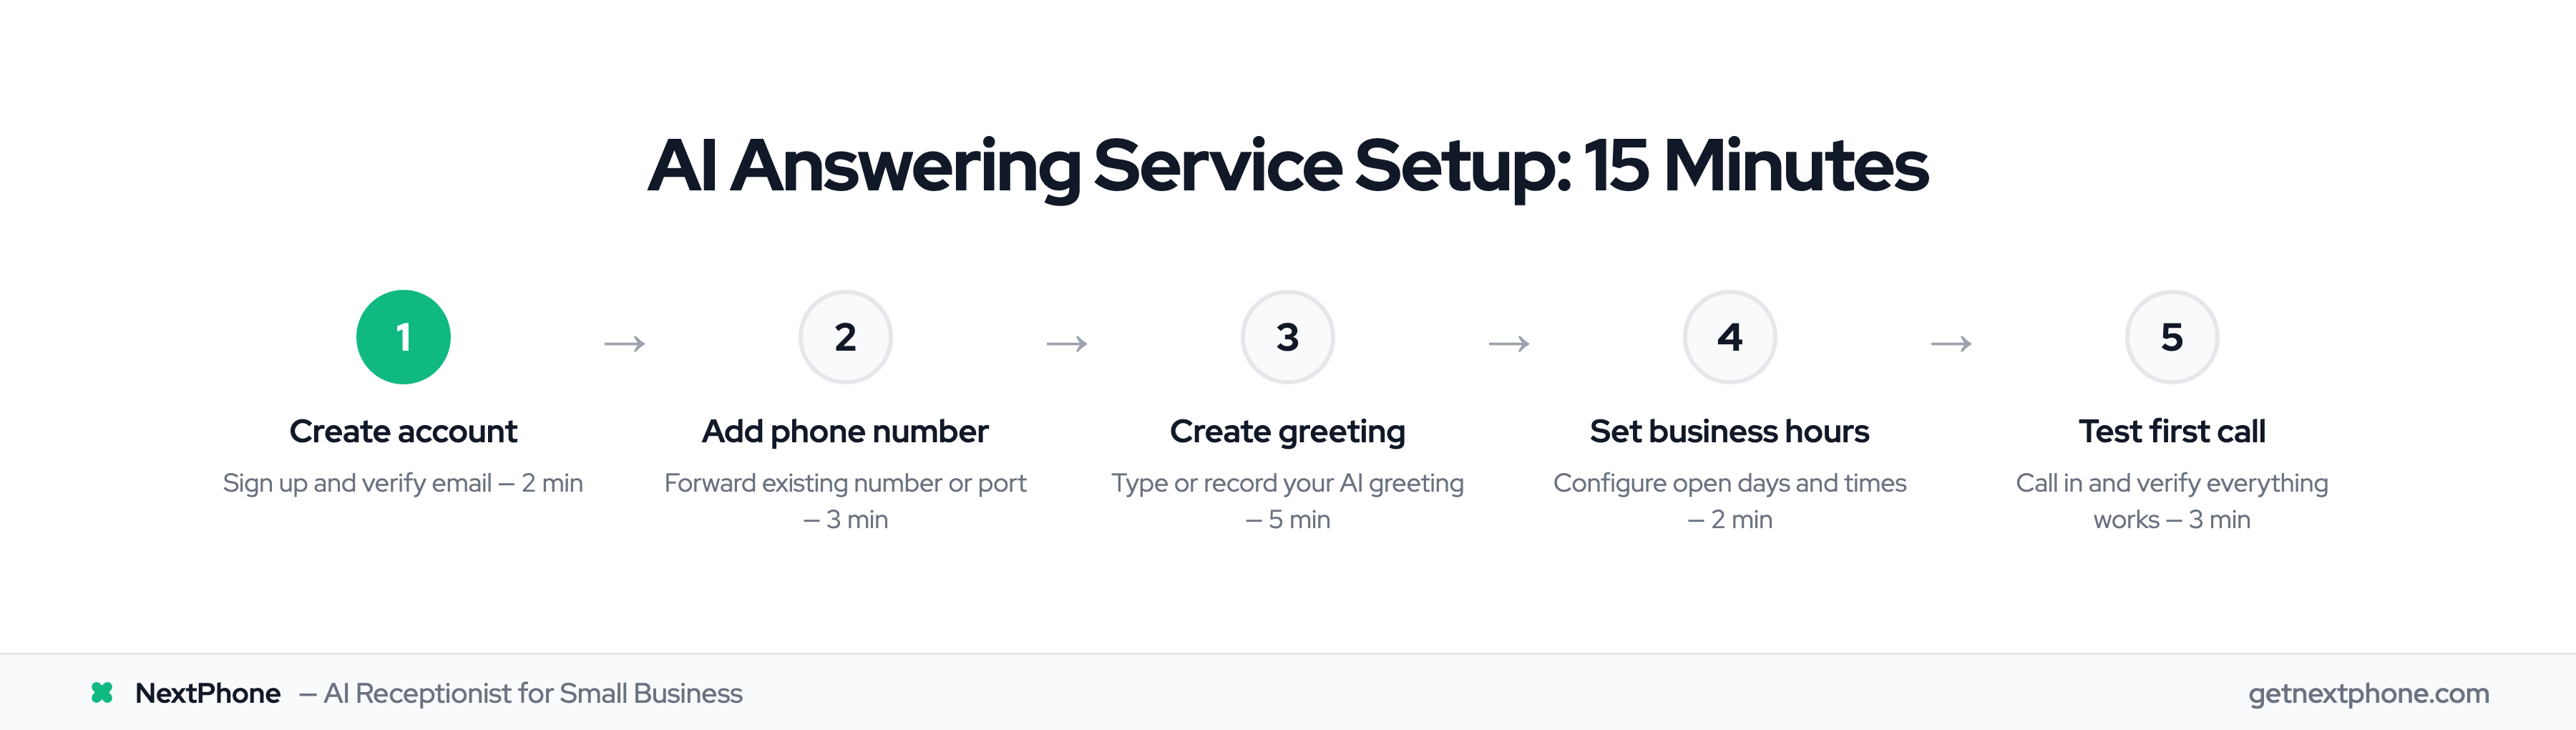
Here's the exact timeline for a complete setup:
| Step | Task | Time |
|---|---|---|
| 1 | Create account | 1 min |
| 2 | Add phone number | 1 min |
| 3 | Create greeting | 1 min |
| 4 | Set business hours | 1 min |
| 5 | Test first call | 1 min |
| Total | 5 min |
Step 1: Create Your Account (1 Minute)
The signup process is straightforward:
- Visit the NextPhone signup page
- Enter your email address
- Create a password
- Verify your email (check inbox for confirmation link)
- Click to confirm
Account created. You're now in the dashboard.
This step takes about a minute. Most of that time is waiting for the confirmation email and clicking the link.
Step 2: Add Your Phone Number (1 Minute)
Now connect your business phone number to the AI system.
You have two options:
Option A: Forward your existing number (instant) Set up call forwarding from your current phone to your new AI receptionist number. Calls start routing immediately.
Option B: Port your number (1-4 days) Transfer full ownership of your number to the new provider. More permanent, but takes longer due to carrier processing.
For same-day activation, choose forwarding. You can always port the number later once you've confirmed everything works.
To set up forwarding:
- The platform provides a destination number
- Call your carrier or use their forwarding code
- Enter the destination number
- Test by calling your business line. It should ring through to the AI
One minute, and your number is connected.
Step 3: Create Your Greeting (1 Minute)
This is what callers hear when the AI answers. It sets the tone for every interaction.
You have two options:
Type your greeting: The AI voice reads your text. Quick and easy to update.
Record your voice: Use your own voice for a personal touch. Takes slightly longer.
For fastest setup, type your greeting. Here's a template:
"Thank you for calling [Business Name]. I'm an AI assistant and I can help you with scheduling, questions about our services, or connect you with our team. How can I help you today?"
Keep your greeting:
- Under 20 seconds
- Clear about what you do
- Specific about how you can help
You can refine this later based on actual caller interactions. For now, get something functional in place.
A minute covers writing, reviewing, and saving your greeting.
Step 4: Set Your Business Hours (1 Minute)
Tell the system when you're open and when you're closed.
- Select days of operation (Monday-Friday, weekends, etc.)
- Set opening time for each day
- Set closing time for each day
- Choose after-hours behavior:
- Take voicemail
- Provide different message
- Offer emergency callback option
Double-check your timezone setting. This is the most common error in this step. Wrong timezone means your "open" hours display incorrectly to the AI.
One minute and your schedule is configured.
Step 5: Test Your First Call (1 Minute)
Before going live with real customers, test the system.
- Grab a different phone (cell phone, colleague's phone)
- Call your business number
- Listen to the greeting
- Ask a sample question
- Check the dashboard: does the call appear in your log?
- Verify you received a notification (email, SMS, or both)
This test confirms:
- Calls are routing correctly
- Greeting sounds as intended
- AI is responding appropriately
- Notifications are working
A minute of testing prevents surprises when real callers arrive.
Setup complete. Total elapsed time: 5 minutes.
Troubleshooting Common First-Time Issues
Most users complete setup without problems. But if something isn't working, here are the quick fixes:
Calls Aren't Reaching the AI
Symptom: You call your business number and it rings normally (not the AI).
Fix: Call forwarding isn't active or the destination number is wrong.
- Verify forwarding is enabled with your carrier
- Double-check the forwarding destination number
- Some carriers require a specific code (like *72) to activate forwarding
Greeting Sounds Wrong
Symptom: The AI greeting sounds different than expected: wrong words, strange pacing, or unclear.
Fix: Edit the greeting text or re-record.
- Check for typos or unusual punctuation
- Adjust AI voice settings (speed, tone) if available
- Consider recording your own voice for full control
Not Receiving Notifications
Symptom: Calls show in the log but you're not getting alerts.
Fix: Check notification settings.
- Verify your email address is correct
- Confirm SMS number if using text alerts
- Check spam folder for email notifications
- Ensure notification preferences are turned on
Business Hours Display Incorrectly
Symptom: AI says you're closed when you should be open (or vice versa).
Fix: Timezone mismatch.
- Go to settings and verify timezone
- Confirm AM/PM is correct for each time slot
- Save changes and test again