You've decided to try an AI receptionist. Good choice. Now the question is: where do you actually start? What do you click first? How long is this going to take? Setting up a voice AI receptionist is simpler than most business owners expect.
Setup guides are often scattered across help docs, FAQs, and knowledge bases. Steps get skipped. Prerequisites go unmentioned. You're left wondering if you missed something. Stanford's 2025 AI Index reports that 70-85% of AI projects fail, with 42% abandoned entirely—often due to poor implementation rather than the technology itself.
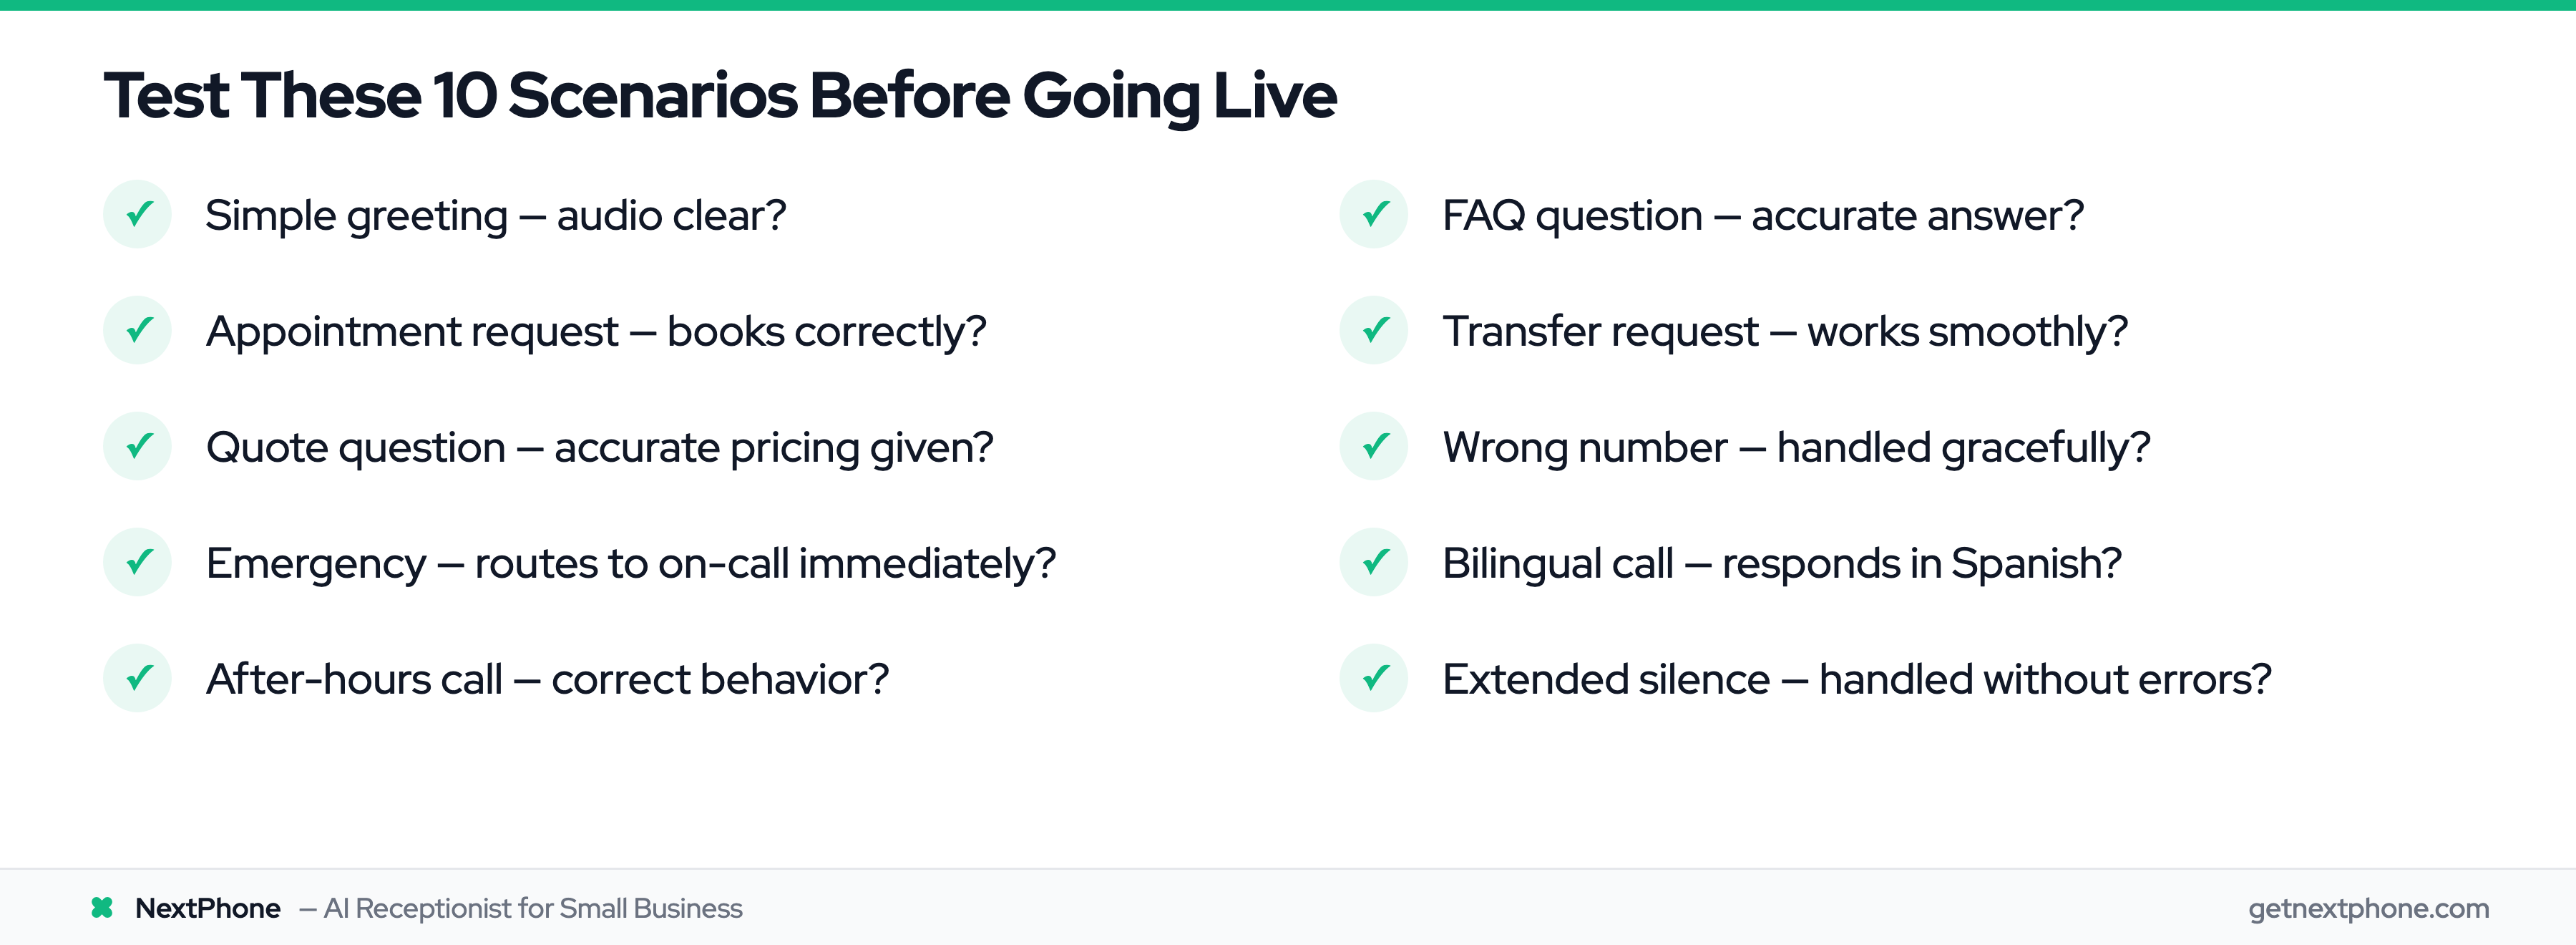
This guide walks through the entire process—from creating your account to making your first test call—with time estimates for each step so you know exactly what you're getting into.
Plan for 30-60 minutes total. If you're doing a simple setup without integrations, you might finish in 20 minutes. If you're connecting CRM, calendar, and configuring complex routing, budget the full hour.
Let's get started.
What to Prepare Before Setup
Before you dive in, gather a few things. Having these ready makes setup smoother:
Your business phone number (if you're forwarding your existing number) The 10-digit number your customers currently call. You'll configure call forwarding from this number to your AI receptionist.
Basic business information Hours of operation, services you offer, general pricing ranges. The AI needs to know what you do and when you're open.
Your website URL Most AI receptionist platforms can scan your website and auto-populate business details. This saves significant setup time.
Calendar link (if using appointment scheduling) Your Calendly or scheduling tool URL. The AI can offer booking during calls if connected.
CRM login (if integrating) Access to your CRM for setting up the integration. You'll need to generate API keys or authorize the connection.
Time needed to gather these: 5 minutes if you know where everything is.
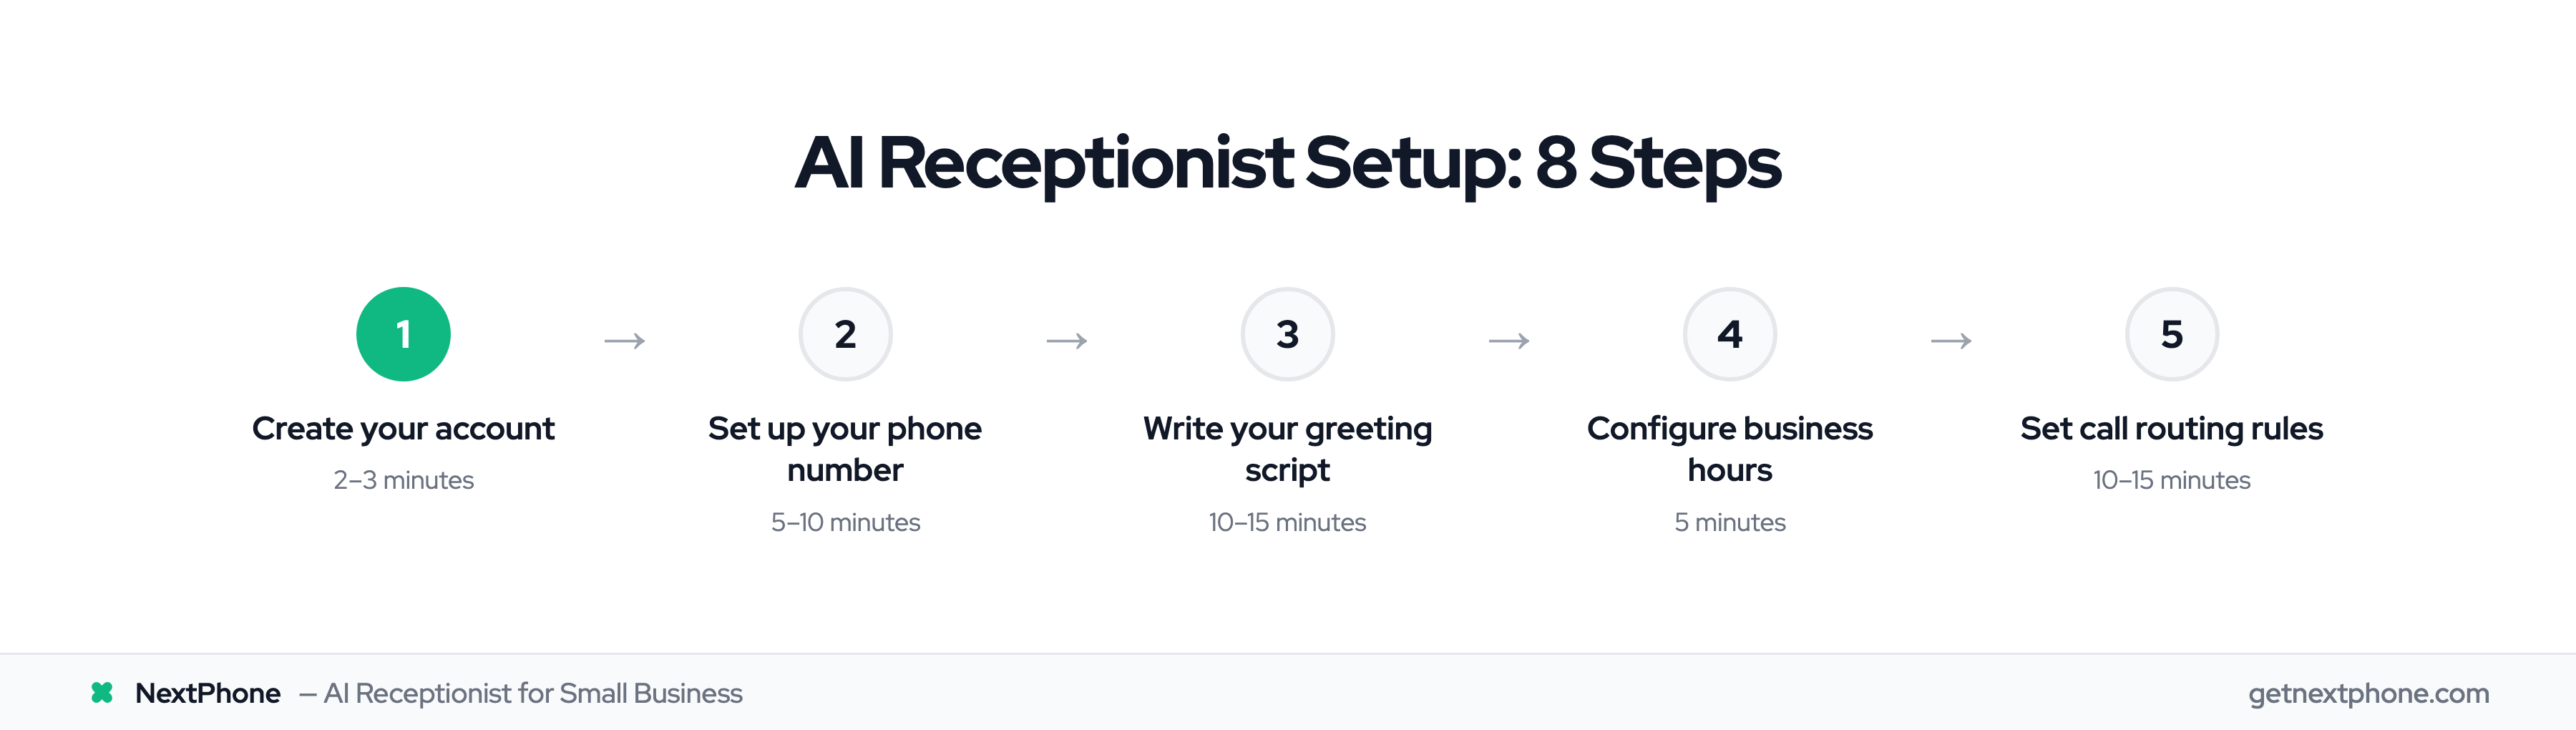
Step 1: Creating Your Account (2-3 Minutes)
The first step is account creation. This is straightforward:
- Navigate to your chosen AI receptionist platform
- Click "Sign Up" or "Start Free Trial"
- Enter your business email address
- Create a password
- Verify your email (check your inbox)
- Enter your business name
After email verification, you'll land on your dashboard. The account is live and ready for configuration.
Most platforms offer a guided setup wizard at this point. You can follow their prompts or work through the sections at your own pace.
Step 2: Setting Up Your Phone Number (5-10 Minutes)
This is where many people get confused. There are three options for phone setup, and they work differently:
Option A: Get a New Phone Number (Instant)
The simplest option. The platform assigns you a new phone number—you pick the area code, and the number is yours immediately.
When this works well:
- You're adding a dedicated number for marketing or a new location
- You want to test AI before switching your main number
- Your existing number is tied to a contract you don't want to break
How to do it:
- Go to phone settings
- Select "Get new number"
- Choose your area code
- Number is assigned instantly
Your existing business number continues working separately. Calls to the new number go to your AI receptionist.
Option B: Forward Your Existing Number (Same Day)
Keep your current business number. Customers call the same number they always have—but calls are forwarded to your AI receptionist.
When this works well:
- Your number is established and known to customers
- You have the number on marketing materials, Google, etc.
- You want seamless transition with no caller-facing change
How to do it:
- Your AI receptionist has a "receiving number"
- You set up call forwarding with your phone carrier
- Forwarding options: always forward, forward when busy, forward when unanswered
Carrier codes vary—your platform should provide instructions specific to your carrier (AT&T, Verizon, T-Mobile, etc.).
Option C: Port Your Number
Transfer actual ownership of your number to the AI receptionist platform. This makes the number native to the system rather than forwarded.
This takes longer (2-10 business days) and requires paperwork. We have a separate guide on number porting if this is your preferred approach.
For most businesses, Option B (call forwarding) provides the fastest path to live with minimal disruption.
Step 3: Creating Your Greeting Script (10-15 Minutes)
Your greeting is the first thing every caller hears. It shapes their entire experience. Spend time here—it matters.
What Makes a Good Greeting
Include:
- Your business name (so callers know they reached the right place)
- Friendly, professional tone
- What the AI can help with (appointments, questions, messages)
- Clear invitation to speak
Keep it:
- Under 20 seconds (ideally 10-15 seconds)
- Natural sounding (not robotic or overly formal)
- Clear and easy to understand
Template Example
"Thanks for calling [Business Name]. I'm here to help with appointments, answer questions, or take a message for our team. How can I assist you today?"
This greeting is 12 seconds, covers the key functions, and invites the caller to respond.
AI-Generated Option
Many platforms can analyze your website and generate a greeting based on your business type and services. This is a good starting point—you can customize it from there.
What to Avoid
Too long: A 30-second greeting before the caller can speak is frustrating.
Too many options: "Press 1 for sales, 2 for support, 3 for billing..." defeats the purpose of AI. Let the AI figure out what they need.
Confusing language: Avoid jargon or unclear phrases. Simple and direct wins.
Overly casual: "Hey! What's up?" might work for some brands, but professionalism is safer default.
Test your greeting by calling yourself. Does it sound like your business? Would you be comfortable if your best customer heard it?
Step 4: Setting Your Business Hours (5 Minutes)
Configure when you're open and what happens during vs. after hours.
Standard Configuration
For each day of the week, set:
- Start time: When your business opens
- End time: When your business closes Example for a typical contractor:
- Monday-Friday: 7:00 AM - 6:00 PM (Full service)
- Saturday: 8:00 AM - 12:00 PM (Limited availability)
- Sunday: Closed
After-Hours Behavior
Define what happens when someone calls outside business hours:
Option 1: Voicemail AI takes a message, notifies you, caller waits for callback.
Option 2: Emergency Transfer AI identifies true emergencies and transfers to on-call. Non-emergencies go to voicemail.
Option 3: Callback Scheduling AI offers to schedule a callback for the next business day. Caller picks a time.
Most businesses use a combination—emergency transfer for urgent issues, voicemail or scheduling for everything else.
Holiday Hours
If your platform supports it, set holiday schedules in advance. Closed Christmas? Open with limited hours on July 4th? Configure it once and forget it.
Step 5: Configuring Call Routing (10-15 Minutes)
Call routing determines when the AI handles calls itself and when it transfers to humans.
Transfer Triggers
Set up triggers for when AI should transfer the call:
Common transfer triggers:
- Caller explicitly asks for a "real person" or "human"
- Emergency keywords detected ("flooding," "fire," "urgent")
- Existing customer with account issue
- Billing or payment disputes
- Complex technical questions beyond AI's knowledge
For each trigger, specify:
- Who receives the transfer (phone number)
- What message plays during transfer
- Fallback if the transfer doesn't answer
Emergency Routing
Critical for service businesses. Define:
- What keywords trigger emergency routing
- Primary on-call number
- Backup numbers if primary doesn't answer
- Hours when emergency routing is active (often after-hours only)
Example: Caller says "pipe burst and water everywhere" — immediate transfer to on-call plumber, regardless of time.
Department Routing (If Applicable)
For businesses with multiple departments:
- Sales inquiries — Sales team
- Existing customers — Account management
- Technical issues — Support
The AI asks clarifying questions and routes accordingly.
Step 6: Training Your AI with Business Info (10-15 Minutes)
The AI needs to know about your business to answer caller questions accurately. This is where you build its knowledge base.
Website Import
Most platforms can scan your website and extract:
- Business name and description
- Services offered
- Hours of operation
- Location information
- Common questions from your FAQ page
This provides a solid foundation. The AI can now answer basic questions about your business.
Adding FAQs
Go beyond website content. Add the questions your receptionist answers daily:
- "How much does [service] cost?"
- "Do you serve [area]?"
- "How soon can you come out?"
- "Do you offer financing?"
- "What's your warranty policy?"
For each question, provide the answer you want the AI to give. More detail = better responses.
Service Descriptions
List your services with brief descriptions:
AC Installation: "We install new central air conditioning systems. Price depends on home size and system type. Typically $5,000-15,000. We offer free estimates."
AC Repair: "We repair all brands of AC systems. Service call fee is $89, which applies toward repairs if you proceed. Same-day service often available."
The AI references these descriptions when callers ask about services.
Pricing Information
You can include pricing—even ranges:
"Drain cleaning starts at $150. Exact price depends on the blockage severity. We provide an exact quote before starting work."
Callers appreciate getting ballpark numbers. The AI can provide them if you train it with this information.